创建 Spring & SpringMVC 项目
参考前文:在Intellij Idea中使用Maven创建Spring&SpringMVC项目
添加 Hibernate Maven 依赖
 1
 2
 3
 4
 5
 6
 7
 8
 9
10
11
12
13
14
15
16
17
18
19
20
21
|
        <dependency>
            <groupId>org.hibernate</groupId>
            <artifactId>hibernate-core</artifactId>
            <version>4.3.5.Final</version>
        </dependency>
        <dependency>
            <groupId>c3p0</groupId>
            <artifactId>c3p0</artifactId>
            <version>0.9.1.2</version>
        </dependency>
        <dependency>
            <groupId>mysql</groupId>
            <artifactId>mysql-connector-java</artifactId>
            <version>5.1.31</version>
        </dependency>
		<!--Optional-->
        <dependency>
            <groupId>org.hibernate</groupId>
            <artifactId>hibernate-validator</artifactId>
            <version>5.1.2.Final</version>
        </dependency>
|
这里使用了 c3p0 作为连接池,当然可以按需求换成其他的,保证连接池的选择和后面的 structure.xml 中的数据库配置一致即可。
添加 Hibernate 配置信息
在 META-INF/properties 下新建 hibernate.properties 用于储存 Hibernate 的具体配置值,方便统一管理,本文以 MySQL 数据为例,内容如下:
 1
 2
 3
 4
 5
 6
 7
 8
 9
10
11
|
hibernate.dialect=org.hibernate.dialect.MySQLDialect
driverClassName=com.mysql.jdbc.Driver
validationQuery=SELECT 1
#Replace following with your configuration
url=jdbc:mysql://0.0.0.0/test?useUnicode=true&characterEncoding=UTF-8&zeroDateTimeBehavior=convertToNull
username=test
password=test

hibernate.hbm2ddl.auto=update
hibernate.show_sql=true
hibernate.format_sql=true
|
随后在 META-INF 下新建 structure.xml 键入以下内容用于整合 Spring 和 Hibernate (也可以直接将beans标签内的内容添加到 Spring 的配置文件中),注意在33行的位置添加要扫描的实体包:
 1
 2
 3
 4
 5
 6
 7
 8
 9
10
11
12
13
14
15
16
17
18
19
20
21
22
23
24
25
26
27
28
29
30
31
32
33
34
35
36
37
38
39
40
41
42
43
44
45
46
47
48
49
50
51
52
53
|
<?xml version="1.0" encoding="UTF-8"?>
<beans xmlns="http://www.springframework.org/schema/beans"
       xmlns:xsi="http://www.w3.org/2001/XMLSchema-instance"
       xmlns:tx="http://www.springframework.org/schema/tx"
       xmlns:aop="http://www.springframework.org/schema/aop"
       xmlns:context="http://www.springframework.org/schema/context"
       xsi:schemaLocation="http://www.springframework.org/schema/beans http://www.springframework.org/schema/beans/spring-beans-3.0.xsd
    http://www.springframework.org/schema/tx http://www.springframework.org/schema/tx/spring-tx-3.0.xsd
    http://www.springframework.org/schema/aop http://www.springframework.org/schema/aop/spring-aop-3.0.xsd
    http://www.springframework.org/schema/context http://www.springframework.org/schema/context/spring-context-3.0.xsd
    ">

    <context:property-placeholder location="classpath:/META-INF/properties/hibernate.properties" />

    <bean id="dataSource" class="com.mchange.v2.c3p0.ComboPooledDataSource"
          destroy-method="close">
        <!-- MySQL5 -->
        <property name="driverClass" value="${driverClassName}"></property>
        <property name="jdbcUrl" value="${url}"></property>
        <property name="user" value="${username}"></property>
        <property name="password" value="${password}"></property>
        <property name="maxPoolSize" value="40"></property>
        <property name="minPoolSize" value="1"></property>
        <property name="initialPoolSize" value="1"></property>
        <property name="maxIdleTime" value="20"></property>
    </bean>

    <bean id="sessionFactory"
          class="org.springframework.orm.hibernate4.LocalSessionFactoryBean">
        <property name="dataSource" ref="dataSource" />
        <property name="packagesToScan">
            <array>
                <value>com.project.entity</value>
            </array>
        </property>
        <property name="hibernateProperties">
            <props>
                <prop key="hibernate.hbm2ddl.auto">${hibernate.hbm2ddl.auto}</prop>
                <prop key="hibernate.dialect">${hibernate.dialect}</prop>
                <prop key="hibernate.show_sql">${hibernate.show_sql}</prop>
                <prop key="hibernate.format_sql">${hibernate.format_sql}</prop>
            </props>
        </property>
    </bean>

    <bean id="transactionManager"
          class="org.springframework.orm.hibernate4.HibernateTransactionManager">
        <property name="sessionFactory" ref="sessionFactory"></property>
    </bean>

    <tx:annotation-driven transaction-manager="transactionManager" />

</beans>
|
如果新建了 structure.xml ,则还需要在 web.xml 中制定配置文件路径:
1
2
3
4
5
6
|
    <context-param>
        <param-name>contextConfigLocation</param-name>
        <param-value>classpath:
            classpath:/META-INF/structure.xml
        </param-value>
    </context-param>
|
如果要使用 hibernateFilter ,那么还要在 web.xml 中添加一个过滤器,位置放在已有过滤器的后面就好:
1
2
3
4
5
6
7
8
|
    <filter>
        <filter-name>hibernateFilter</filter-name>
        <filter-class>org.springframework.orm.hibernate4.support.OpenSessionInViewFilter</filter-class>
    </filter>
    <filter-mapping>
        <filter-name>hibernateFilter</filter-name>
        <url-pattern>/*</url-pattern>
    </filter-mapping>
|
另外,还应该在 Spring 的配置文件中添加对 Entity 、DAO 、Service 包的扫描,算上 controller ,包扫描的配置如下:
1
2
3
4
|
    <context:component-scan base-package="com.project.controller"/>
    <context:component-scan base-package="com.project.DAO"/>
    <context:component-scan base-package="com.project.service"/>
    <context:component-scan base-package="com.project.entity"/>
|
这样,我们就完成了 Hibernate 的配置。
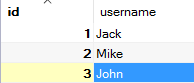
测试
数据库 test 中有表 user:
于是我们在 Sources Root 下新建以下文件:
User.java
 1
 2
 3
 4
 5
 6
 7
 8
 9
10
11
12
|
@Controller
public class UserController {
    @Autowired
    private UserService userService;

    @RequestMapping("/")
    public ModelAndView index(ModelAndView model) {
        model.addObject( "users", userService.getUsers() );
        model.setViewName("index");
        return model;
    }
}
|
UserDAO.java
1
2
3
|
public interface UserDAO {
    List getUsers();
}
|
UserDAOImpl.java
 1
 2
 3
 4
 5
 6
 7
 8
 9
10
11
|
@Repository
public class UserDAOImpl implements UserDAO {
    @Autowired
    private SessionFactory sessionFactory;

    public List<User> getUsers() {
        String hql = "FROM User";
        Query query = sessionFactory.getCurrentSession().createQuery(hql);
        return query.list();
    }
}
|
UserService.java
1
2
3
|
public interface UserService {
    List<User> getUsers();
}
|
UserServiceImpl.java
 1
 2
 3
 4
 5
 6
 7
 8
 9
10
|
@Service("userService")
@Transactional
public class UserServiceImpl implements UserService {
    @Autowired
    private UserDAO userDAO;

    public List<User> getUsers() {
        return userDAO.getUsers();
    }
}
|
UserController.java
 1
 2
 3
 4
 5
 6
 7
 8
 9
10
11
12
|
@Controller
public class UserController {
    @Autowired
    private UserService userService;

    @RequestMapping("/")
    public ModelAndView index(ModelAndView model) {
        model.addObject( "users", userService.getUsers() );
        model.setViewName("index");
        return model;
    }
}
|
index.jsp
 1
 2
 3
 4
 5
 6
 7
 8
 9
10
11
|
<%@ taglib prefix="c" uri="http://java.sun.com/jsp/jstl/core" %>
<%@ taglib uri="http://www.springframework.org/tags" prefix="spring" %>
<%@ page contentType="text/html;charset=UTF-8" language="java" %>
<html>
<body>
<h2>Hello World!</h2>
<c:forEach items="${users}" var="user">
    ${user.id}: ${user.username}<br/>
</c:forEach>
</body>
</html>
|
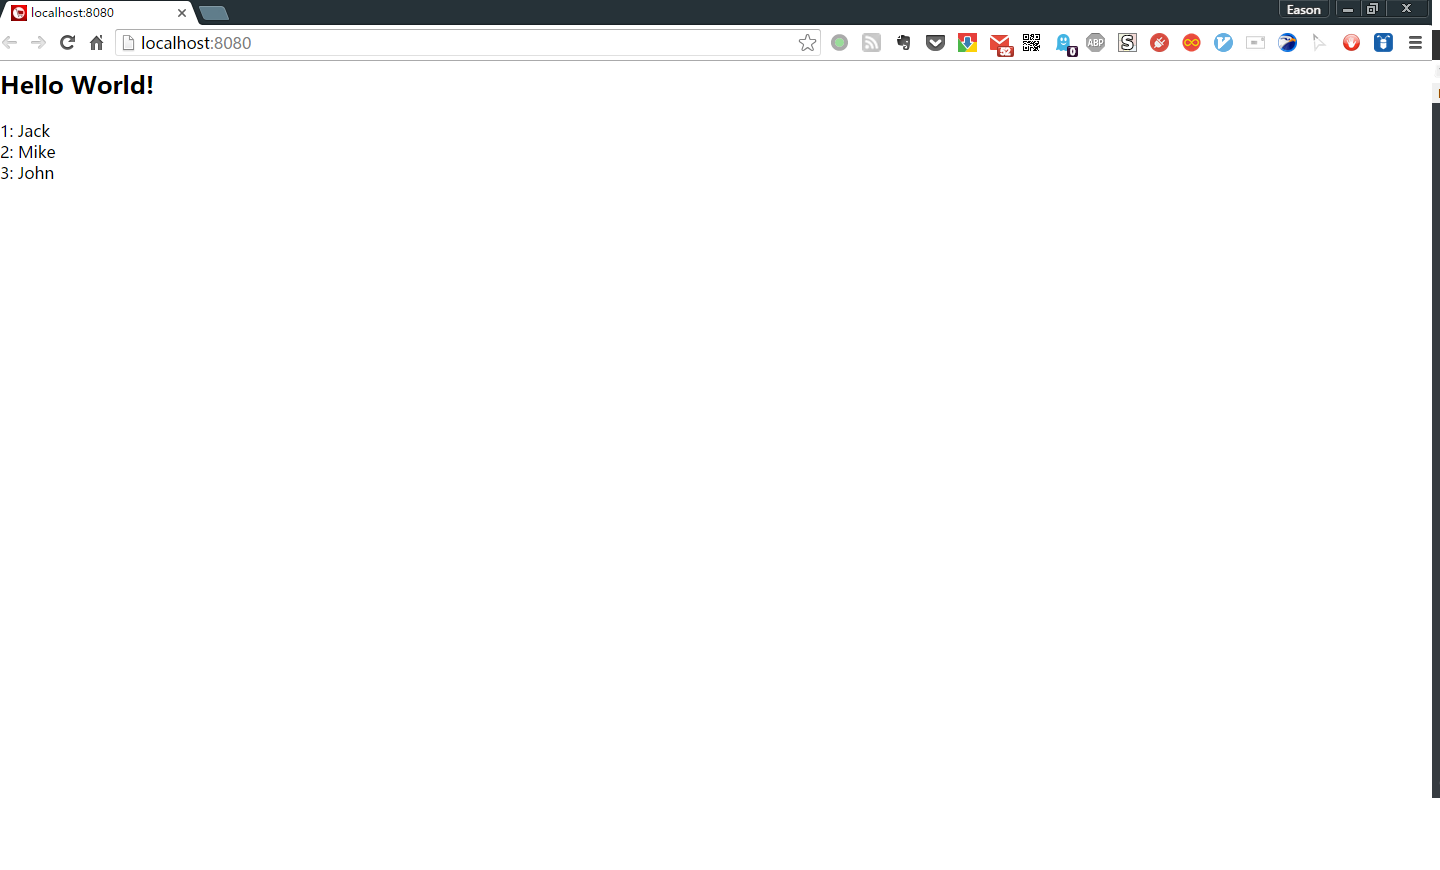
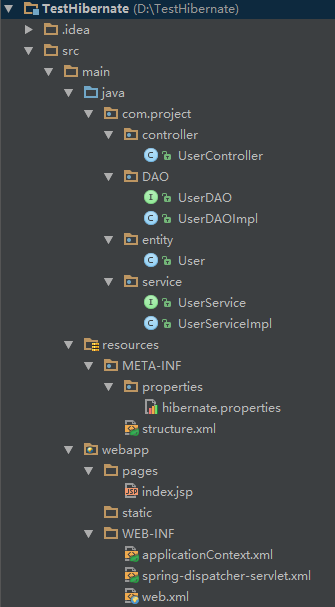
最后的文件树如下:
运行结果如下: