环境及版本
- Jetbrains Intellij Idea 15.0.6
- Spring 4.1.6
- JDK 1.8.0_20
- Tomcat 8
- Windows 10
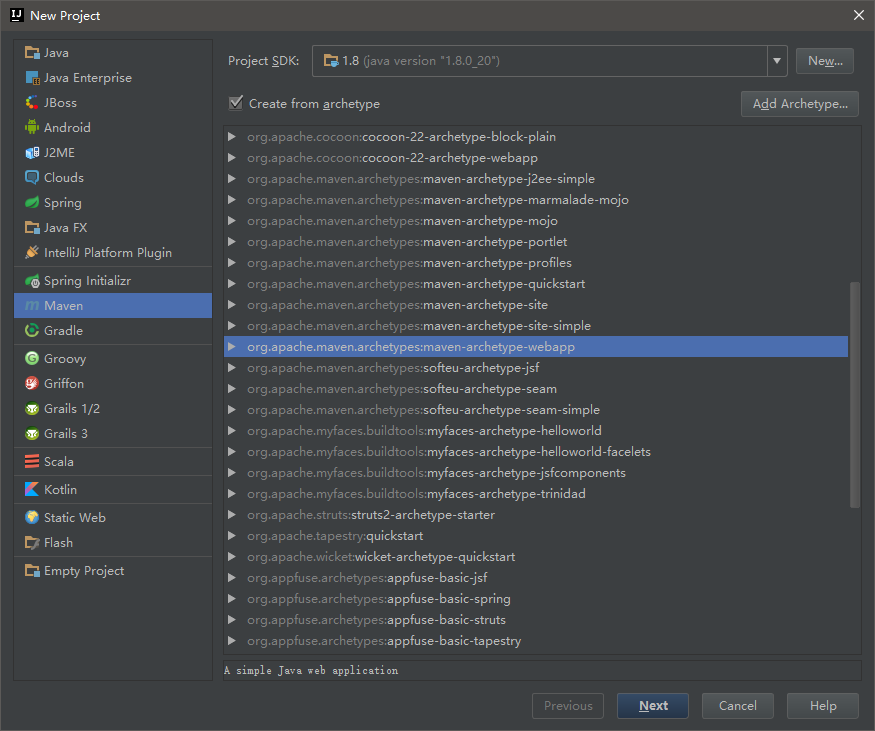
从 Maven archetype 创建 Java Web 项目
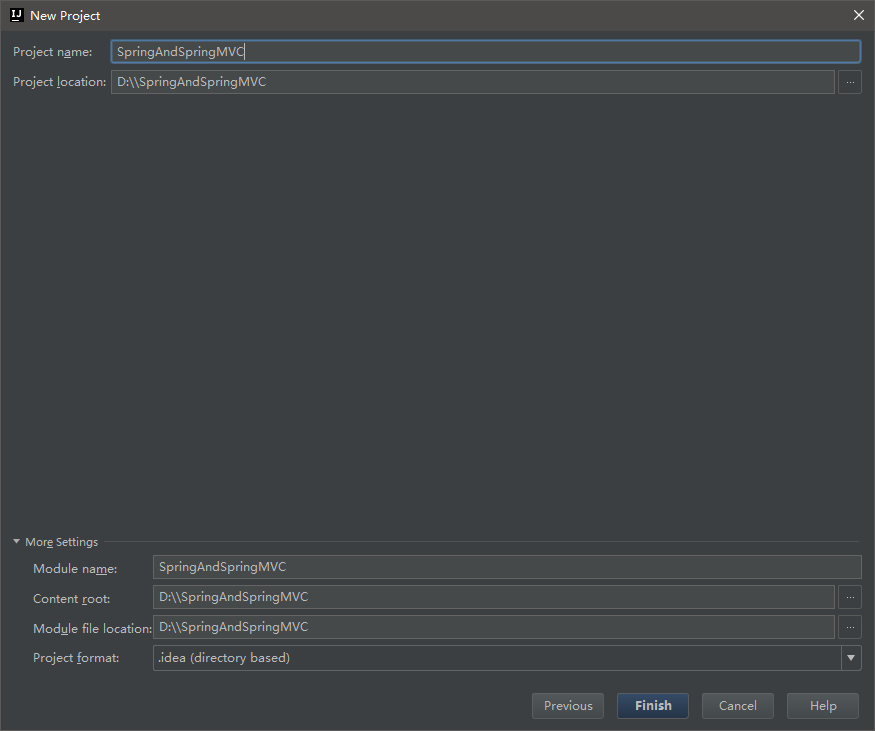
点击 File > New > Project > Maven,勾选 Create from archetype 并在列表中选择 maven-archetype-webapp 。
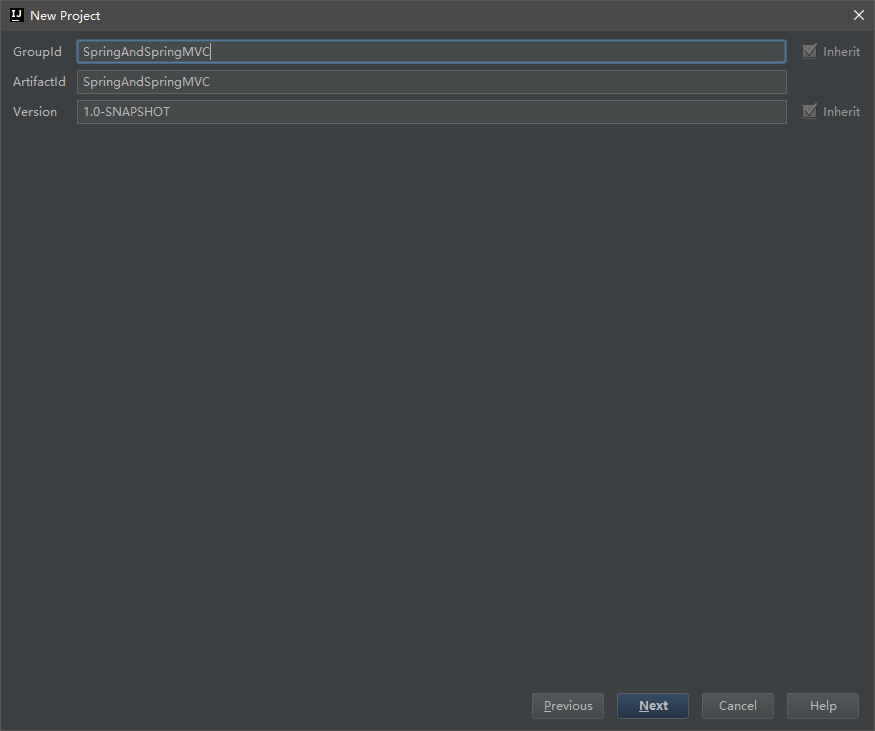
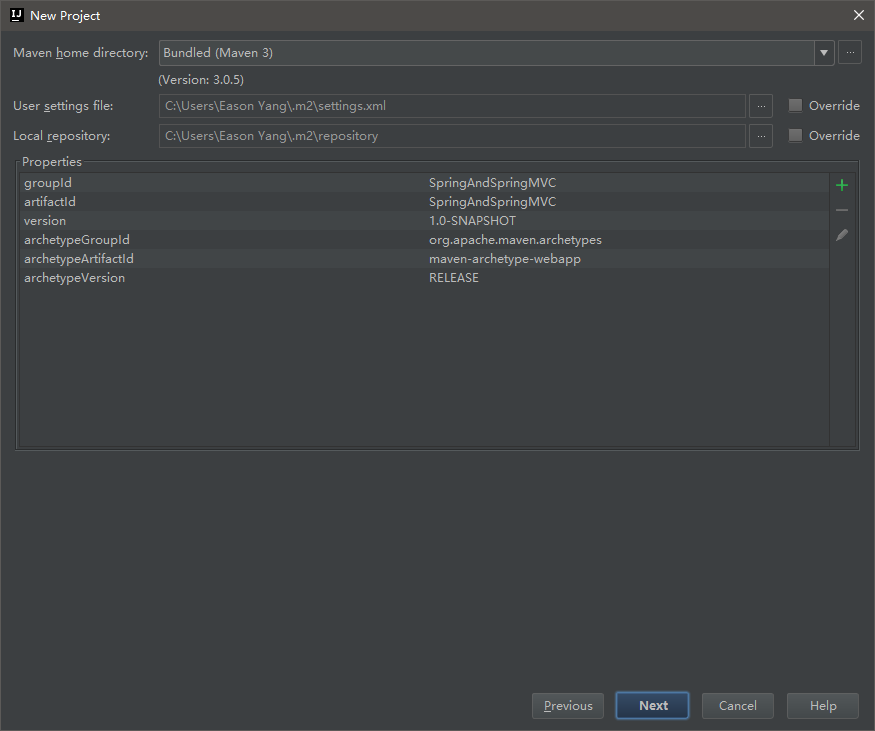
随后的步骤自行设置:
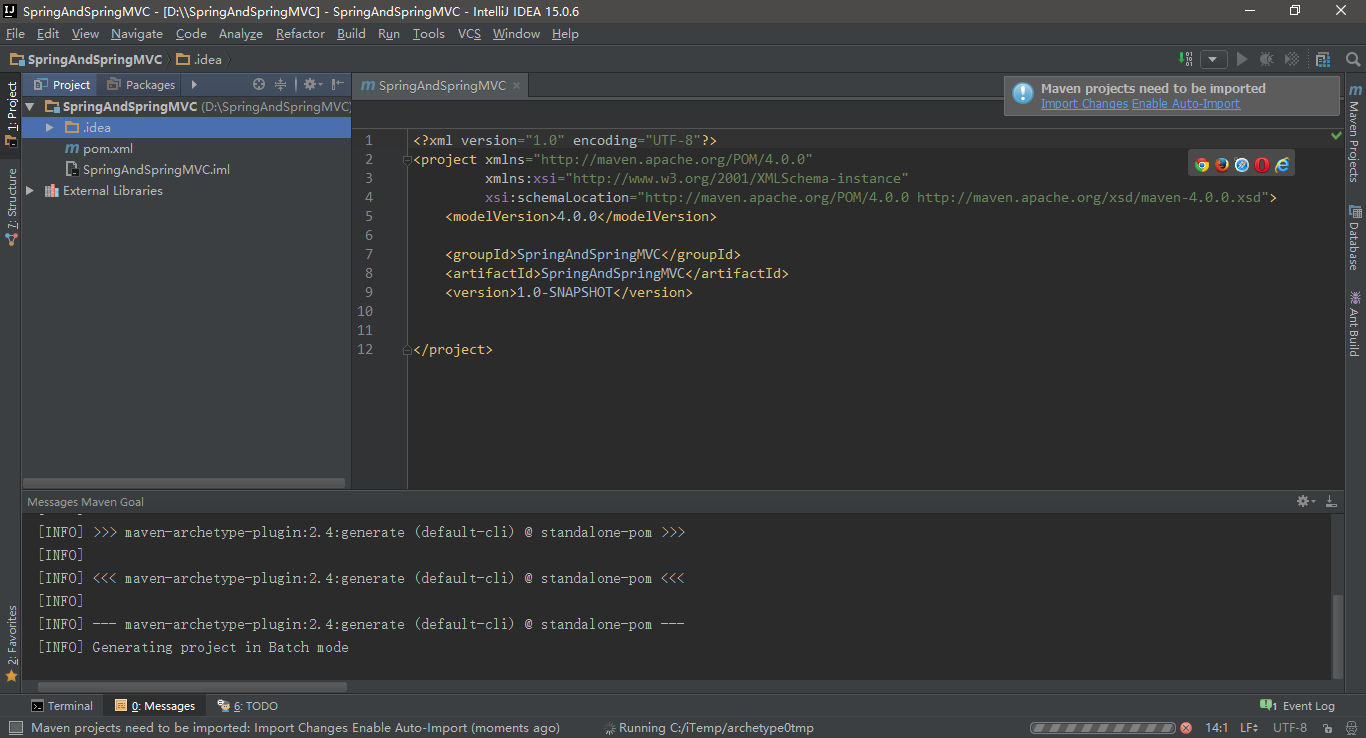
随后Maven 会根据默认的 pom.xml 自动导入依赖,为了方便以后 Maven 在我们修改了 pom.xml 后能自动开始配置依赖,我们可以点击 Enable Auto-import 。
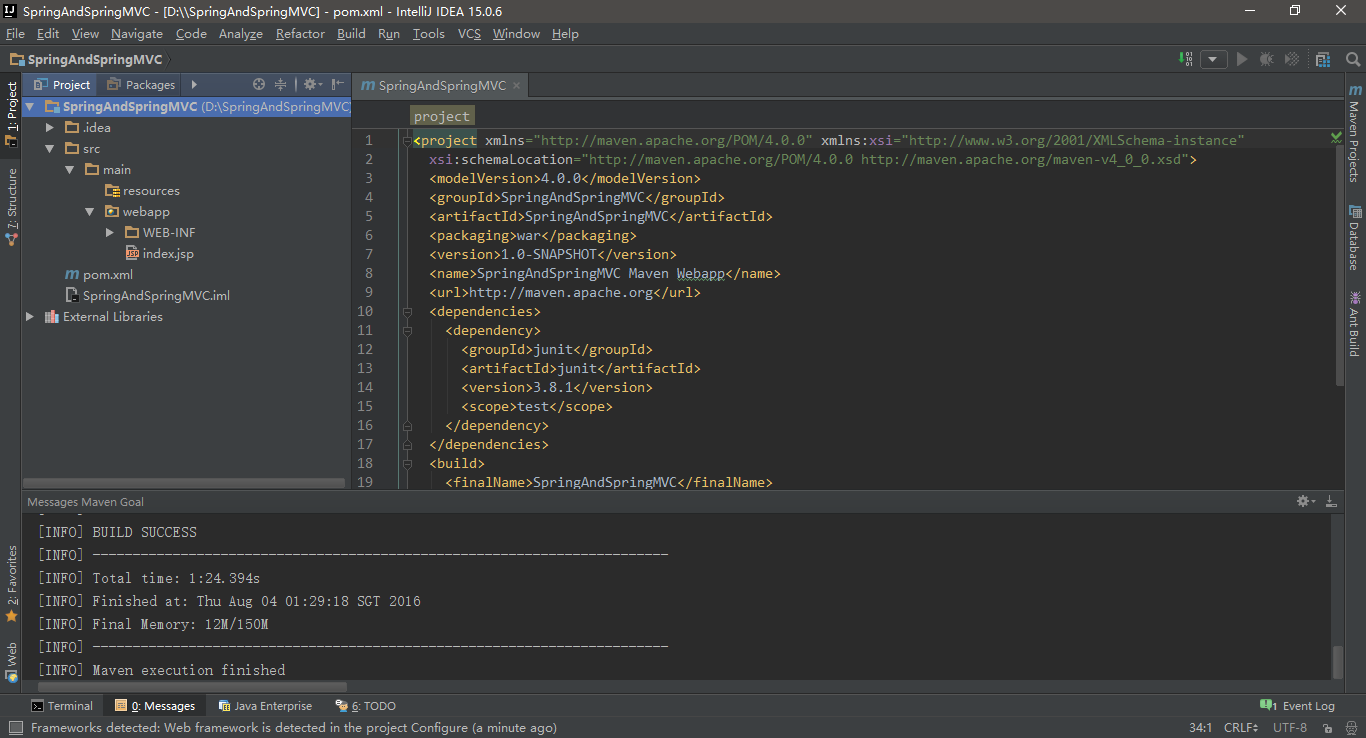
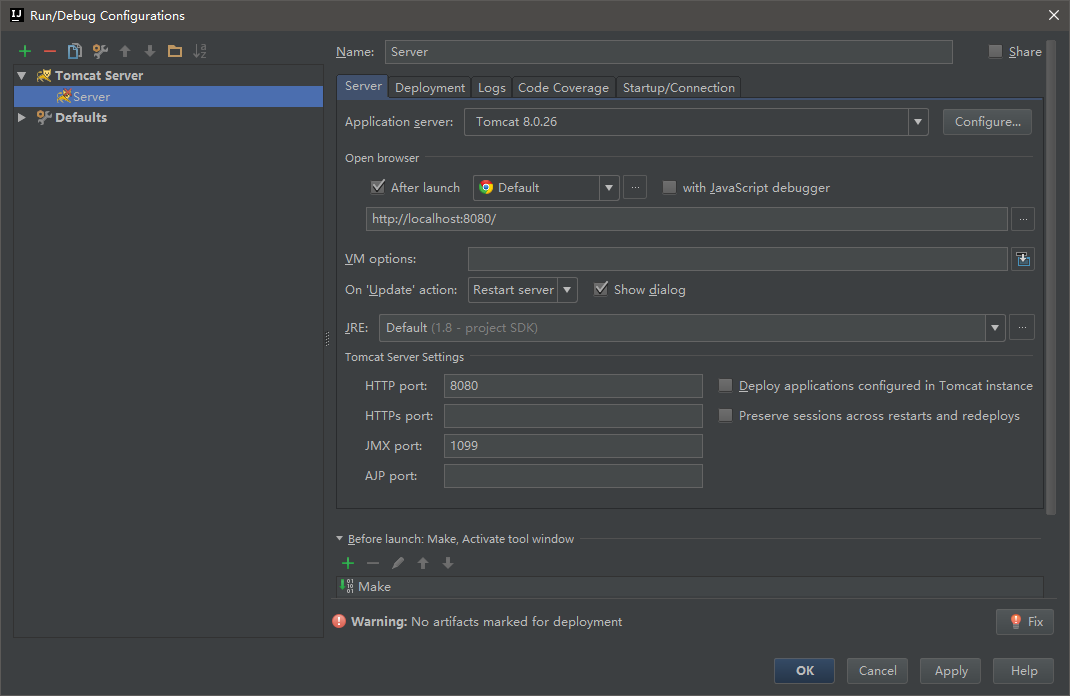
Maven 处理完依赖之后就可以配置 Tomcat 来查看效果了。点击右上角的下拉箭头,然后点击加号配置一个新的 Tomcat ,当然也可以使用别的容器。
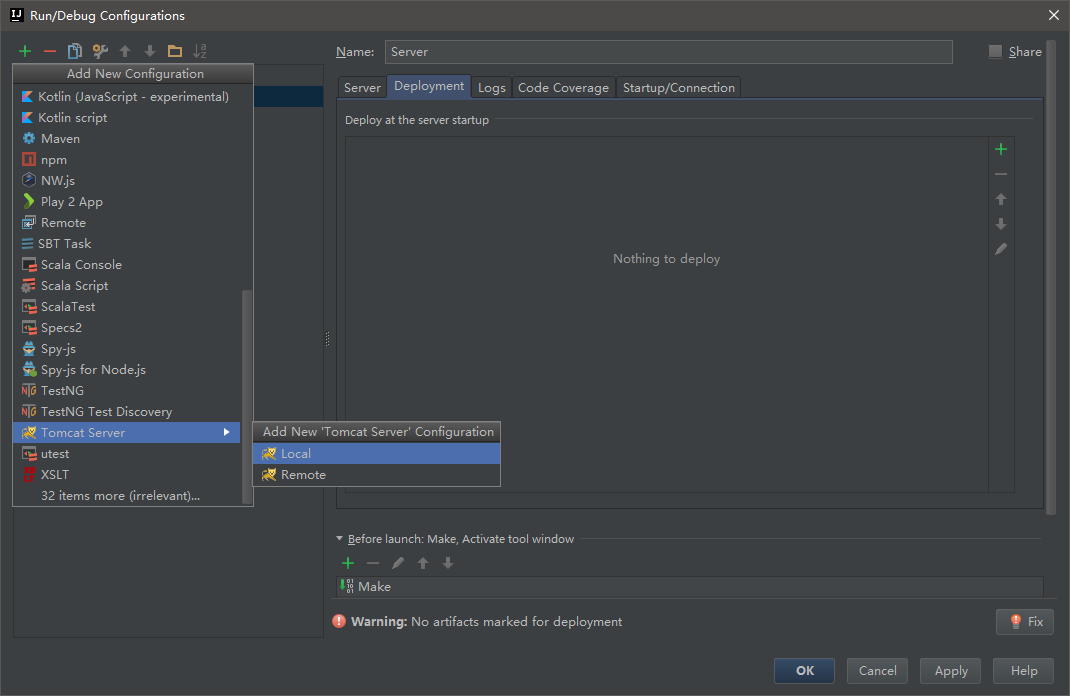
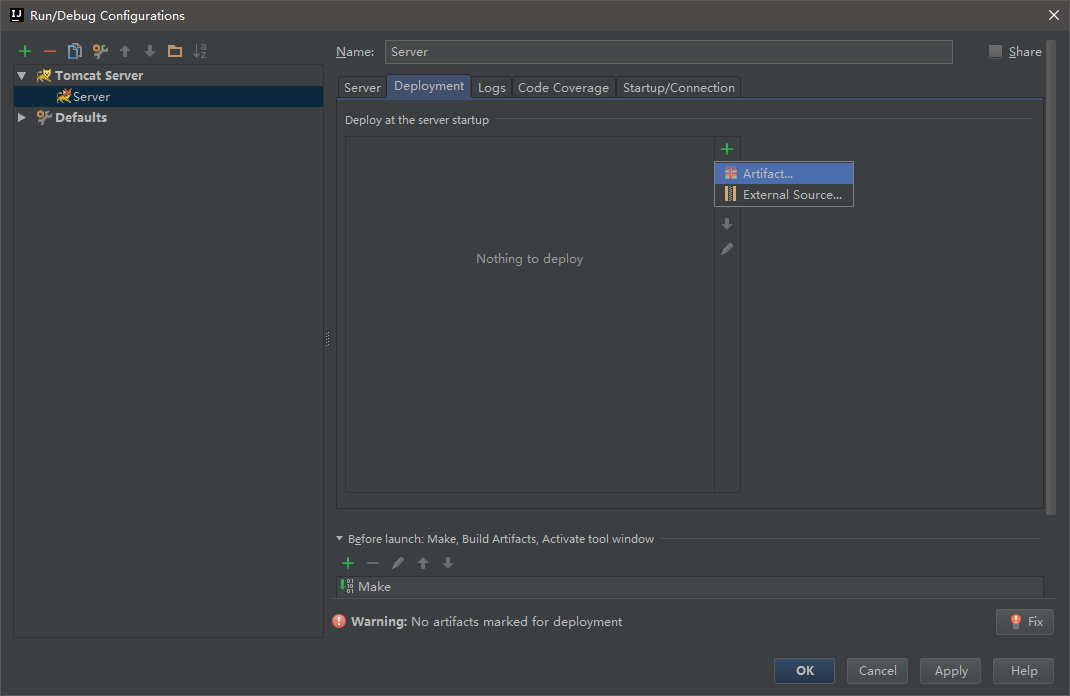
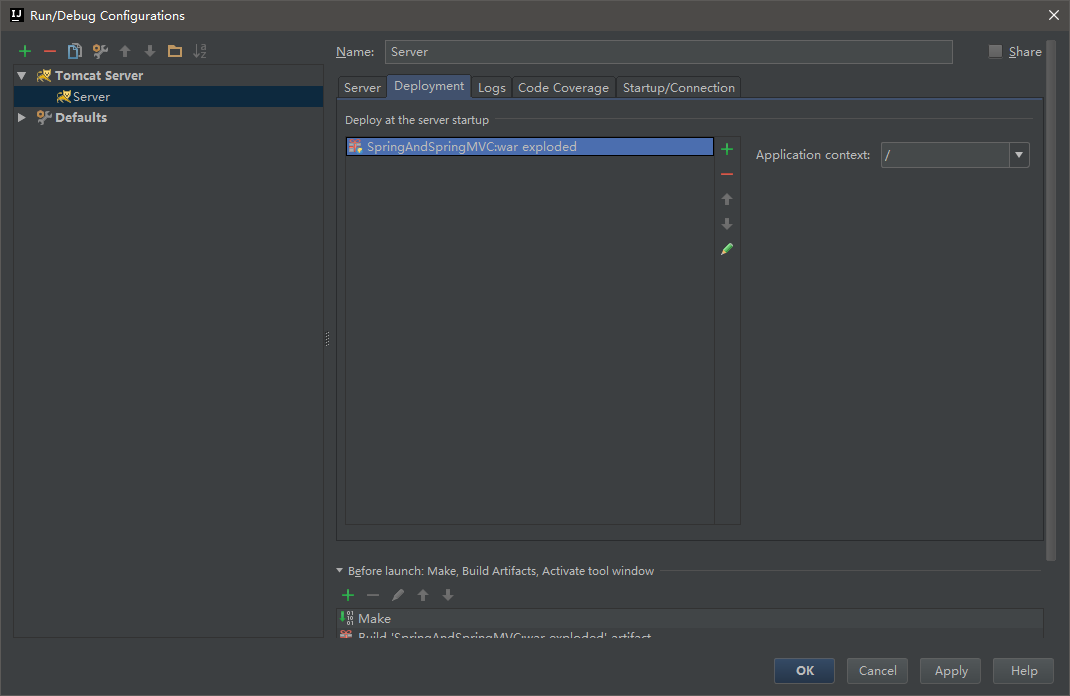
在此界面中点击 Deployment 标签页,添加一个新的 Artifact。非正式项目选择 war 或者 war exploded 都可以。
随后就可以运行服务器,得到的下过如下:
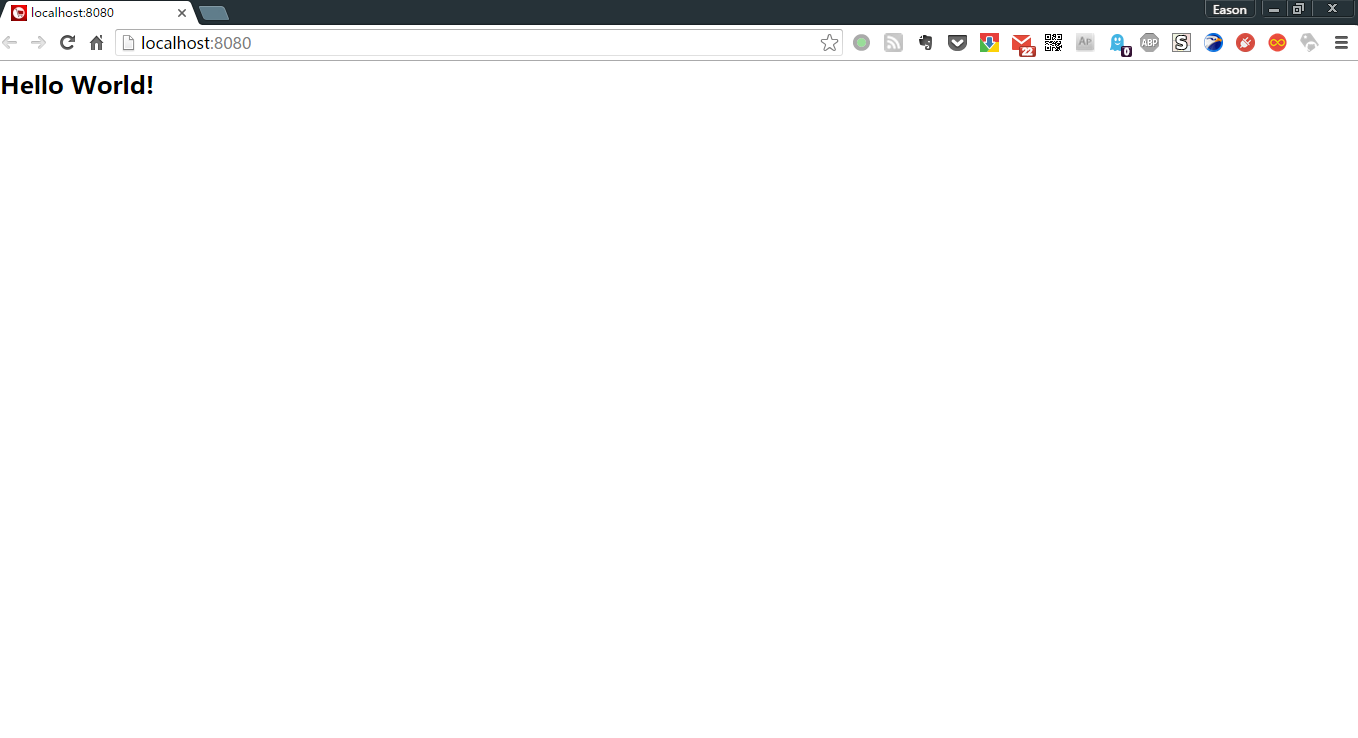
至此一个 Java Web 项目配置完毕。
设置 Maven 的 pom.xml 导入 Spring 依赖
直接将下列内容覆盖到 pom.xml 中,随后 Maven 会自动更新依赖。
  1
  2
  3
  4
  5
  6
  7
  8
  9
 10
 11
 12
 13
 14
 15
 16
 17
 18
 19
 20
 21
 22
 23
 24
 25
 26
 27
 28
 29
 30
 31
 32
 33
 34
 35
 36
 37
 38
 39
 40
 41
 42
 43
 44
 45
 46
 47
 48
 49
 50
 51
 52
 53
 54
 55
 56
 57
 58
 59
 60
 61
 62
 63
 64
 65
 66
 67
 68
 69
 70
 71
 72
 73
 74
 75
 76
 77
 78
 79
 80
 81
 82
 83
 84
 85
 86
 87
 88
 89
 90
 91
 92
 93
 94
 95
 96
 97
 98
 99
100
101
102
103
104
105
|
<project xmlns="http://maven.apache.org/POM/4.0.0" xmlns:xsi="http://www.w3.org/2001/XMLSchema-instance"
         xsi:schemaLocation="http://maven.apache.org/POM/4.0.0 http://maven.apache.org/maven-v4_0_0.xsd">
    <modelVersion>4.0.0</modelVersion>
    <groupId>SpringAndSpringMVC</groupId>
    <artifactId>SpringAndSpringMVC</artifactId>
    <packaging>war</packaging>
    <version>1.0-SNAPSHOT</version>
    <name>SpringAndSpringMVC Maven Webapp</name>
    <url>http://maven.apache.org</url>
    <properties>
        <spring.version>4.1.6.RELEASE</spring.version>
    </properties>

    <dependencies>
        <!-- spring framework start -->
        <dependency>
            <groupId>org.springframework</groupId>
            <artifactId>spring-core</artifactId>
            <version>${spring.version}</version>
        </dependency>

        <dependency>
            <groupId>org.springframework</groupId>
            <artifactId>spring-web</artifactId>
            <version>${spring.version}</version>
        </dependency>

        <dependency>
            <groupId>org.springframework</groupId>
            <artifactId>spring-webmvc</artifactId>
            <version>${spring.version}</version>
        </dependency>

        <dependency>
            <groupId>org.springframework</groupId>
            <artifactId>spring-test</artifactId>
            <version>${spring.version}</version>
            <scope>test</scope>
        </dependency>

        <dependency>
            <groupId>org.springframework</groupId>
            <artifactId>spring-orm</artifactId>
            <version>${spring.version}</version>
        </dependency>
        <!-- spring framework end -->

        <!-- servlet start -->
        <dependency>
            <groupId>javax.servlet.jsp.jstl</groupId>
            <artifactId>javax.servlet.jsp.jstl-api</artifactId>
            <version>1.2.1</version>
        </dependency>

        <dependency>
            <groupId>taglibs</groupId>
            <artifactId>standard</artifactId>
            <version>1.1.2</version>
        </dependency>

        <dependency>
            <groupId>javax.servlet</groupId>
            <artifactId>jstl</artifactId>
            <version>1.2</version>
        </dependency>

        <dependency>
            <groupId>javax.servlet</groupId>
            <artifactId>servlet-api</artifactId>
            <version>2.5</version>
        </dependency>

        <dependency>
            <groupId>javax.servlet.jsp</groupId>
            <artifactId>jsp-api</artifactId>
            <version>2.1</version>
            <scope>provided</scope>
        </dependency>
        <!-- servlet end -->

        <!-- json start -->
        <dependency>
            <groupId>com.google.code.gson</groupId>
            <artifactId>gson</artifactId>
            <version>2.6.2</version>
        </dependency>
        <!-- json end -->
        <dependency>
            <groupId>org.testng</groupId>
            <artifactId>testng</artifactId>
            <version>6.9.10</version>
        </dependency>

        <dependency>
            <groupId>junit</groupId>
            <artifactId>junit</artifactId>
            <version>4.11</version>
            <scope>test</scope>
        </dependency>

    </dependencies>
    <build>
        <finalName>SpringAndSpringMVC</finalName>
    </build>
</project>
|
配置 web.xml
 1
 2
 3
 4
 5
 6
 7
 8
 9
10
11
12
13
14
15
16
17
18
19
20
21
22
23
24
25
26
27
28
29
30
31
32
33
34
35
36
37
38
39
40
41
42
43
44
45
46
47
48
49
50
51
52
53
54
55
56
57
58
59
60
|
<!DOCTYPE web-app PUBLIC
        "-//Sun Microsystems, Inc.//DTD Web Application 2.3//EN"
        "http://java.sun.com/dtd/web-app_2_3.dtd" >

<web-app xmlns:xsi="http://www.w3.org/2001/XMLSchema-instance"
         xmlns="http://java.sun.com/xml/ns/javaee"
         xsi:schemaLocation="http://java.sun.com/xml/ns/javaee http://java.sun.com/xml/ns/javaee/web-app_3_0.xsd"
         metadata-complete="true" version="3.0">
    <filter>
        <filter-name>encodingFilter</filter-name>
        <filter-class>org.springframework.web.filter.CharacterEncodingFilter</filter-class>
        <init-param>
            <param-name>encoding</param-name>
            <param-value>UTF-8</param-value>
        </init-param>
        <init-param>
            <param-name>forceEncoding</param-name>
            <param-value>true</param-value>
        </init-param>
    </filter>

    <filter-mapping>
        <filter-name>encodingFilter</filter-name>
        <url-pattern>/*</url-pattern>
    </filter-mapping>

    <servlet>
        <servlet-name>spring-dispatcher</servlet-name>
        <servlet-class>org.springframework.web.servlet.DispatcherServlet</servlet-class>
    </servlet>
    <servlet-mapping>
        <servlet-name>spring-dispatcher</servlet-name>
        <url-pattern>/</url-pattern>
    </servlet-mapping>

    <filter>
        <filter-name>characterEncodingFilter</filter-name>
        <filter-class>org.springframework.web.filter.CharacterEncodingFilter</filter-class>
        <init-param>
            <param-name>encoding</param-name>
            <param-value>UTF-8</param-value>
        </init-param>
        <init-param>
            <param-name>forceEncoding</param-name>
            <param-value>true</param-value>
        </init-param>
    </filter>
    <filter-mapping>
        <filter-name>characterEncodingFilter</filter-name>
        <url-pattern>/*</url-pattern>
    </filter-mapping>

    <session-config>
        <session-timeout>60</session-timeout>
    </session-config>

    <listener>
        <listener-class>org.springframework.web.context.ContextLoaderListener</listener-class>
    </listener>
</web-app>
|
如果你像我一样在 web.xml 中添加了
1
2
3
|
    <listener>
        <listener-class>org.springframework.web.context.ContextLoaderListener</listener-class>
    </listener>
|
那么你还需要在 WEB-INF 下创建 applicationContext.xml ,其中的内容根据需要填写。/WEB-INF/applicationContext.xml 是该 Listner 默认的配置文件位置,可以通过在 web.xml 中添加以下内容修改其位置:
1
2
3
4
5
6
|
    <context-param>
        <param-name>contextConfigLocation</param-name>
        <param-value>
            classpath:/META-INF/context.xml
        </param-value>
    </context-param>
|
配置 Spring 及 SpringMVC 的 XML 文件
默认情况下,Spring MVC 的配置文件应该位于 /WEB-INF/[servlet-name]-servlet.xml ,由于上文我们定义了了 servlet-name 为 spring-dispatcher ,所以应该在 WEB-INF 目录下新建 spring-dispatcher-servlet.xml 作为配置文件,内容如下:
 1
 2
 3
 4
 5
 6
 7
 8
 9
10
11
12
13
14
15
16
17
18
19
|
<beans xmlns="http://www.springframework.org/schema/beans"
       xmlns:xsi="http://www.w3.org/2001/XMLSchema-instance"
       xmlns:context="http://www.springframework.org/schema/context"
       xmlns:mvc="http://www.springframework.org/schema/mvc"
       xsi:schemaLocation="http://www.springframework.org/schema/beans http://www.springframework.org/schema/beans/spring-beans-3.0.xsd
        http://www.springframework.org/schema/context http://www.springframework.org/schema/context/spring-context-3.0.xsd
        http://www.springframework.org/schema/mvc http://www.springframework.org/schema/mvc/spring-mvc-3.0.xsd">


    <mvc:annotation-driven />
    <bean id="viewResolver" class="org.springframework.web.servlet.view.InternalResourceViewResolver">
        <property name="prefix" value="/pages/"/>
        <property name="suffix" value=".jsp"/>
    </bean>

    <mvc:resources mapping="/static/**" location="/static/" cache-period="31556926"/>

    <context:component-scan base-package="com.sys.springandspringmvc.controller"/>
</beans>
|
上述配置文件中,<mvc:annotation-driven /> 用于启用注解配置。
1
2
3
4
|
<bean id="viewResolver" class="org.springframework.web.servlet.view.InternalResourceViewResolver">
        <property name="prefix" value="/pages/"/>
        <property name="suffix" value=".jsp"/>
</bean>
|
这个 bean 用于解析 View ,指定了 View 页面的位置及类型(后缀)。
1
|
<mvc:resources mapping="/static/**" location="/static/" cache-period="31556926"/>
|
由于 SpringMVC 会对所有请求进行 URL 匹配,而像 .js 、.css 这样的静态文件是没有在 Controller 类中指定 URI 映射的,所以无法获取到。此时需要通过配置 mvc:resources 来将静态文件添加为例外。
1
|
<context:component-scan base-package="com.sys.springandspringmvc.controller"/>
|
上述部分则是配置 Spring 以扫描 controller 目录进行依赖注入。
创建包及 Controller
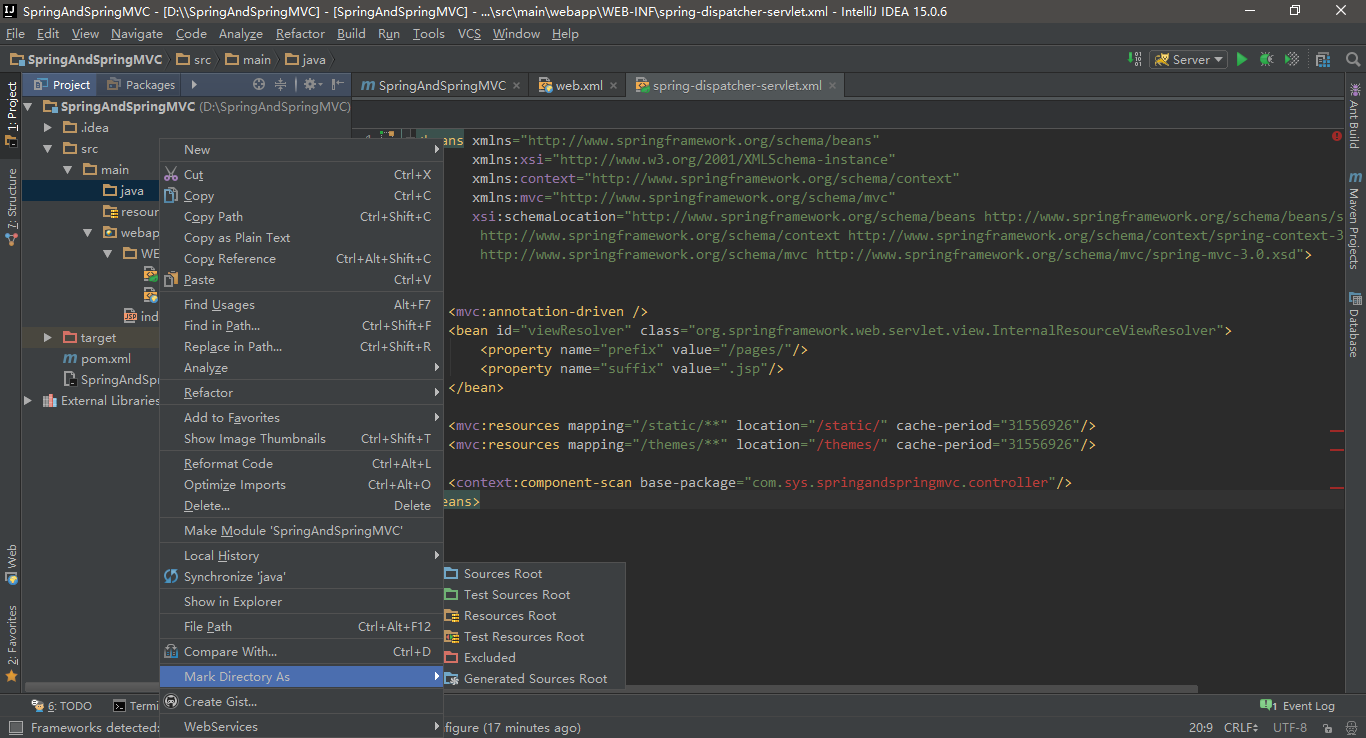
在 main 目录下创建 java 目录(命名随意),此时是无法直接在其中创建包或者 Java 类的,我们必须先将 java 目录设置为代码根目录。右击 java 目录,在 Mark Directory As 中选择第一个 Source Root 。
随后在其中新建包 com.sys.springandspringmvc.controller ,并在包中新建 IndexController 类。内容可以按下面的写:
 1
 2
 3
 4
 5
 6
 7
 8
 9
10
11
12
|
package com.sys.springandspringmvc.controller;

import org.springframework.stereotype.Controller;
import org.springframework.web.bind.annotation.RequestMapping;

@Controller
public class IndexController {
    @RequestMapping("/")
    public String index() {
        return "index";
    }
}
|
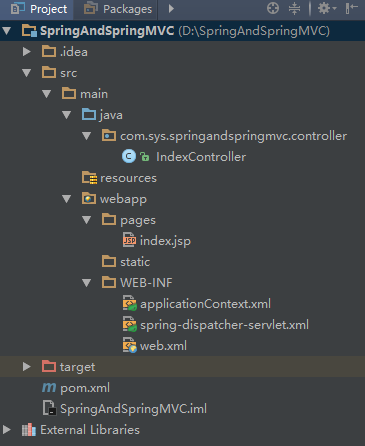
同时在 webapp 目录下新建 pages 和 static 文件夹,然后创建一个 index.jsp ,随便写些内容。
最后的目录结构如下:
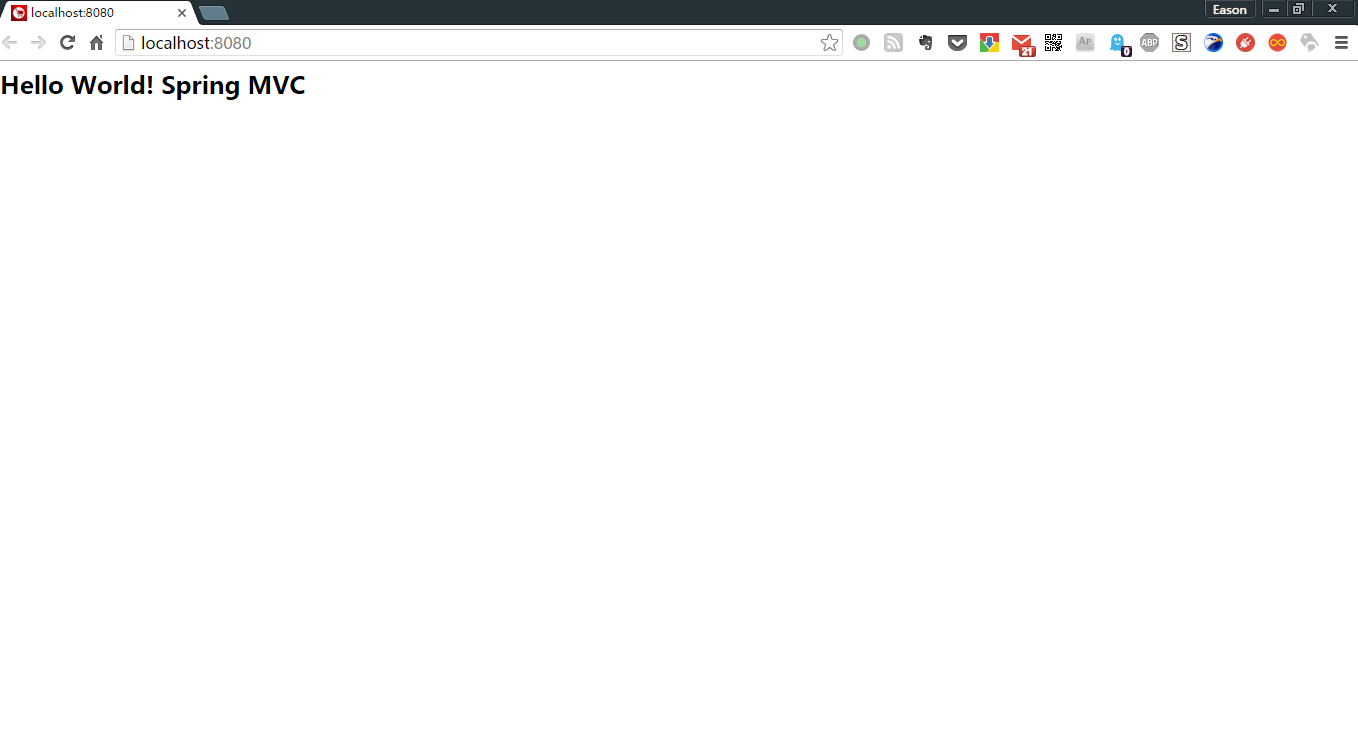
测试
运行 Tomcat ,访问 http://127.0.0.1:8080 ,可正常访问,至此整个项目搭建完成。